
Read Time:2 Minute, 43 Second
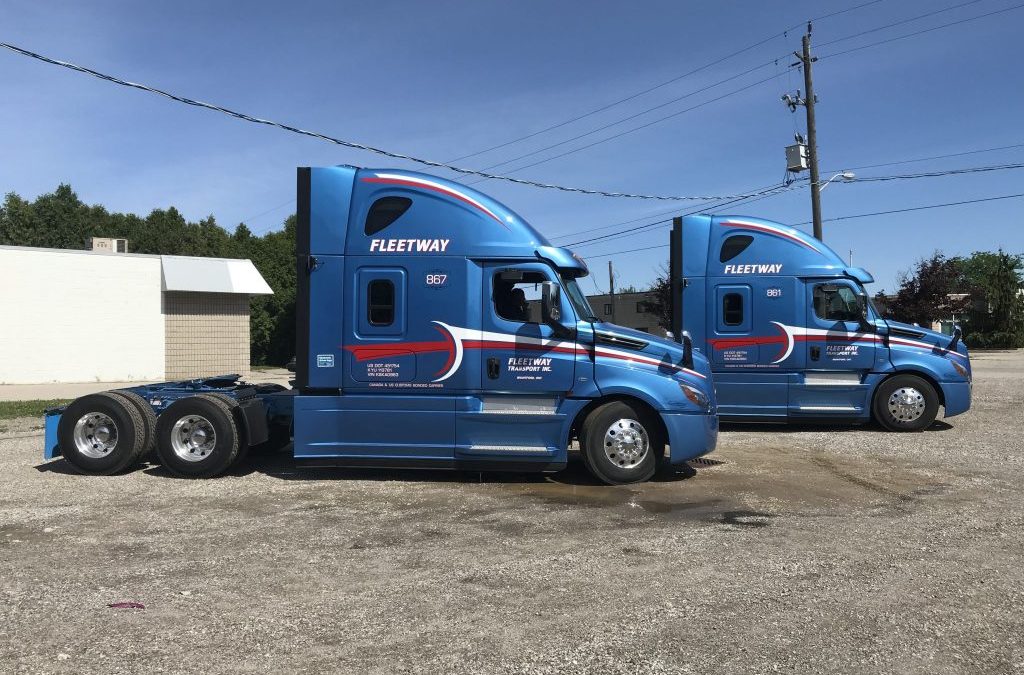
I use vinyl wraps on my company car to advertise my business. You can too! Here is how you get started: adding a vinyl wrap to your vehicle for business purposes typically involves the following steps:
- Design: Start by creating or obtaining a design for your vinyl wrap. This design should incorporate your business logo, contact information, and any other branding elements you want to include. You can either design it yourself or hire a professional graphic designer.
- Find a Professional Installer: Look for a reputable and experienced vehicle wrap installer in your area. They will have the necessary tools, equipment, and expertise to properly install the vinyl wrap on your vehicle. You can search online, ask for recommendations, or check with local sign shops or printing companies.
- Vehicle Preparation: Before applying the vinyl wrap, the vehicle needs to be thoroughly cleaned and prepped. This involves washing the exterior to remove dirt, dust, and debris. Additionally, any wax, grease, or other substances that could affect adhesion must be removed. The installer may also need to remove certain parts of the vehicle, such as door handles or trim pieces, to ensure a seamless application.
- Surface Preparation: The vehicle’s surface should be smooth and free of imperfections for optimal adhesion. The installer will likely use a cleaning solution to remove any remaining residue and ensure the surface is ready for the vinyl wrap.
- Installation: The installer will carefully apply the vinyl wrap to your vehicle, starting with one section at a time. They will use heat guns, squeegees, and other tools to stretch and manipulate the vinyl wrap for a precise fit. The process requires skill and attention to detail to avoid air bubbles, wrinkles, or misalignment. The installation time may vary depending on the size and complexity of the wrap.
- Trimming and Finishing: Once the vinyl wrap is applied to the vehicle’s surface, the installer will trim the excess material using sharp blades or knives. They will pay close attention to edges, corners, and curves to achieve a clean and professional look. Additionally, any necessary finishing touches, such as reattaching removed parts or applying edge sealants, will be done at this stage.
- Quality Check: After the installation is complete, the installer will inspect the vinyl wrap for any imperfections or issues. They will ensure that the design is aligned correctly, there are no air bubbles, and the wrap is securely adhered to the vehicle.
It’s worth noting that the specific process may vary slightly depending on the installer and the complexity of the vinyl wrap design. It’s always a good idea to consult with, Advantage Vinyl, the professional installer beforehand to understand their specific requirements and recommendations.
Happy
0 %
Sad
0 %
Excited
0 %
Sleepy
0 %
Angry
0 %
Surprise
0 %